1. Login to WebLogic Server Administration console (default port 7001)
http://hostname:port/console
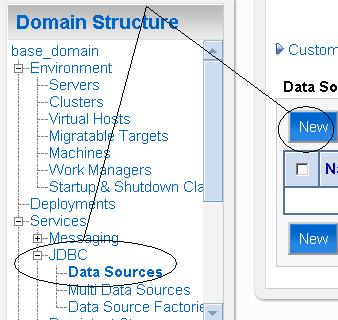
2. Select Data Sources under JDBC in Services section
.
.
3. Click on New button on right side as shown above
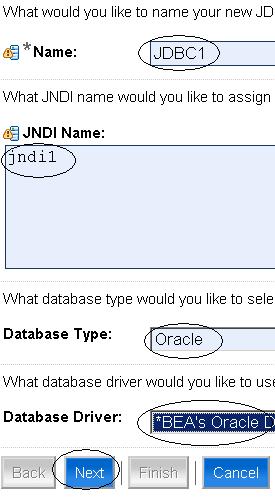
4. Enter JDBC Name, JNDI Name, Database & Driver type as shown below
.
.
5. In next screen, enter database connection pool details i.e.
– Database Name
– Host Name (on which database is running)
– PortNumber (on which database listener is listening)
– Database User Name
&
– Password (for database user)
.
6. In next screen you test connection by clicking on “Test Configuration” as shown below
.

.
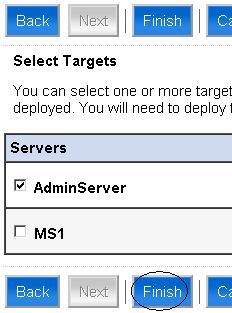
7.Finally you select target servers (Administration and Managed Server in that domain) for that Datasource.
.
8. On clicking Finish button, you should see datasource as listed below

.
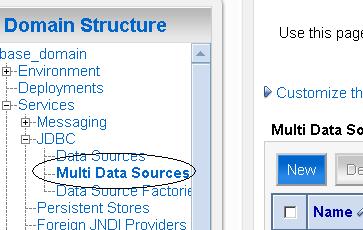
To create Multi Datasource
Steps mentioned above are to create single Datasource. To create Multi Datasource first create two or more Datasource as mentioned above (I created JDBC1 & JDBC2) then select Multi Datasources from console as shown below
.
.
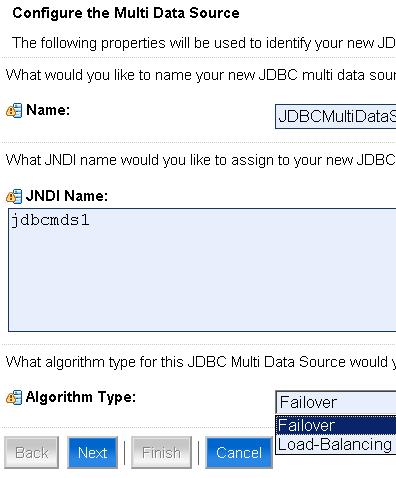
2. Click on New button above, In next screen select Name of Multi DatasourceJNDI
. and
.
3. Select Algorithm Typefor Multi Datasource i.e. Failover or Load Balancing
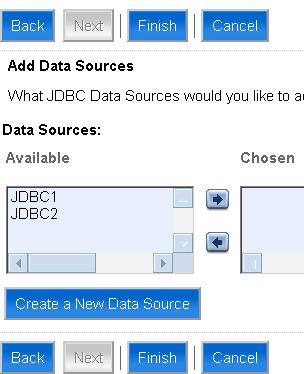
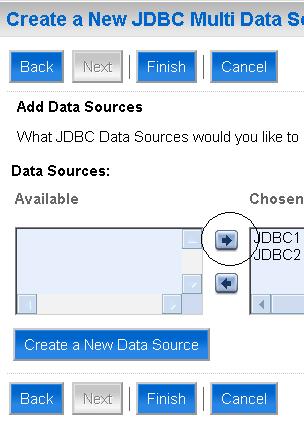
4. Select Datasource which you want to make part of Multi Datasource as shown below
.
.
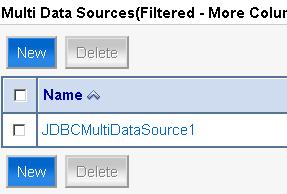
5. Finally click on Finish to see Multi Data Sources
JDBC tuning in WebLogic and lot more coming soon…

No comments:
Post a Comment